
Where to find the best easy hikes near me with minimal elevation gain? That’s the question on every beginner hiker’s mind, and rightfully so! Finding the perfect low-impact trail shouldn’t feel like scaling Everest. This guide breaks down how to discover nearby trails that are genuinely easy, focusing on elevation gain, trail length, terrain, and more. We’ll arm you with the tools and knowledge to find your next peaceful escape, without the strenuous climb.
From mastering the art of reading trail descriptions to utilizing handy apps and websites, we’ll navigate you through the process. Learn to spot those sneaky red flags in online reviews, ensuring your chosen path truly matches your fitness level. We’ll even cover essential packing tips and Leave No Trace principles to ensure your hike is both enjoyable and environmentally responsible.
Get ready to explore!
Defining “Easy” and “Minimal Elevation Gain”

So, you’re looking for easy hikes, huh? We get it. Sometimes, you just want a scenic stroll in nature without the intense cardio workout. But what exactly constitutes an “easy” hike, especially when elevation gain is a key factor? Let’s break it down.Defining “easy” and “minimal elevation gain” isn’t a hard and fast rule; it depends largely on your fitness level and experience.
What’s a breezy afternoon walk for a seasoned hiker might be a challenging climb for a beginner. We’ll consider elevation gain, trail length, terrain, and exposure to create a clearer picture.
Elevation Gain and Hiking Difficulty
Elevation gain, simply put, is the total vertical ascent you’ll cover during a hike. It’s a significant factor in determining difficulty. Here’s a guideline, remembering that these are just suggestions and personal fitness levels vary greatly:
| Difficulty Level | Elevation Gain (feet) | Trail Length (miles) | Terrain Description |
|---|---|---|---|
| Beginner | Under 500 feet | Under 3 miles | Mostly flat, well-maintained trails; minimal obstacles. Think paved paths or smooth, wide dirt trails. |
| Intermediate | 500-1500 feet | 3-6 miles | Some inclines and declines; possibly some uneven terrain, rocks, or roots. Trails may be narrower. |
| Experienced | Over 1500 feet | Over 6 miles | Steep inclines and declines; potentially rocky, uneven, or technical terrain. May involve scrambling or exposure. |
Factors Beyond Elevation Gain
While elevation gain is crucial, it’s not the only determinant of hike difficulty. Other factors significantly impact the overall experience:* Trail Length: A longer trail, even with minimal elevation gain, can be tiring, especially if the terrain is uneven. A 10-mile flat hike is far more strenuous than a 3-mile hike with some elevation.* Terrain: Rocky, uneven, or root-filled trails require more attention and effort than smooth, well-maintained paths.
Think about navigating loose scree – it adds significant challenge.* Exposure: Hiking along exposed ridgelines or cliffs can be daunting, even if the elevation gain is modest. Wind, sun, and the sheer drop-off can make it more challenging.* Trail Conditions: Mud, ice, or snow can drastically increase the difficulty of any hike, regardless of elevation or length.
Always check trail reports before heading out.
Locating Nearby Hiking Trails: Where To Find The Best Easy Hikes Near Me With Minimal Elevation Gain
Finding the perfect easy hike near you, with minimal elevation gain, starts with knowing where to look. The digital age offers a plethora of resources, but navigating them effectively requires a bit of savvy. Choosing the right tool depends on your preference for detail, ease of use, and the level of accuracy you need.Discovering nearby hiking trails involves leveraging a combination of online and offline resources.
Find out about how best places to hike near me with well-maintained trails can deliver the best answers for your issues.
Each method offers unique advantages and disadvantages, impacting your overall hiking experience. Understanding these nuances can significantly streamline your search and help you discover hidden gems.
Mobile Apps for Trail Discovery
Mobile apps have revolutionized how we discover and navigate hiking trails. Many apps offer detailed trail maps, elevation profiles, user reviews, and even GPS tracking capabilities. Popular choices include AllTrails, Hiking Project, and Gaia GPS. AllTrails, for example, boasts a massive database of user-submitted trails, complete with photos, difficulty ratings, and detailed descriptions. However, relying solely on user-submitted information can lead to inaccuracies in trail conditions or maintenance.
The accuracy of the information depends heavily on the community’s contribution and updates. In contrast, Gaia GPS offers more advanced features, such as offline map downloads and detailed topographic maps, but might have a steeper learning curve. The ease of use varies depending on the app’s interface and features, with some apps being more intuitive than others.
Websites Dedicated to Hiking Trails, Where to find the best easy hikes near me with minimal elevation gain
Besides mobile apps, numerous websites are dedicated to cataloging hiking trails. These websites often offer more comprehensive information than apps, including trail descriptions, detailed maps, and links to relevant local resources. Websites like the National Park Service’s website (for trails within national parks) or state park websites offer reliable information, but their scope might be limited to specific areas.
The accuracy of the information is generally high due to official sources, but the detail might not be as rich as user-generated content found on apps like AllTrails. Ease of use can vary; some sites are well-designed and easy to navigate, while others might require more effort to find the information you need.
Local Resources for Trail Information
Don’t underestimate the power of local knowledge! Visiting your local library, outdoor gear shops, or even tourist information centers can unearth hidden gems not listed online. Local hiking clubs and community groups often maintain their own trail maps and information, offering insider tips and insights. This method offers the advantage of direct, up-to-date information from experienced hikers in your area.
However, the disadvantage is the limited reach and potential lack of comprehensive detail compared to online databases. The ease of use depends on the availability and accessibility of these local resources.
Utilizing Geographic Coordinates for Trail Finding
Geographic coordinates, expressed as latitude and longitude (e.g., 34.0522° N, 118.2437° W), provide precise locations. Many online mapping tools and GPS apps allow you to input coordinates to pinpoint specific locations. This is particularly useful when navigating trails with less clear signage or when using older maps. For example, you could find the coordinates of a trailhead on a website or app and then input them into Google Maps or a dedicated GPS device for precise navigation.
The accuracy is extremely high, provided the coordinates are correct. However, this method requires a degree of technical understanding and access to appropriate mapping tools. It’s not the most user-friendly method for beginners.
Evaluating Trail Descriptions and Reviews
So, you’ve found a few potential hiking trails, but how do you know if they’re truly “easy” and boast that “minimal elevation gain” you’re after? Don’t just rely on the title! Digging deeper into the trail descriptions and user reviews is crucial to avoid unexpected uphill battles and rocky scrambles. A little detective work now saves a lot of huffing and puffing later.Knowing what to look for in trail descriptions and reviews is key to choosing the perfect easy hike.
This involves carefully examining specific details to ensure the trail matches your fitness level and expectations. Misinterpreting these details can lead to a frustrating and potentially dangerous experience. Let’s learn how to decode the trail information.
Key Aspects of Trail Descriptions
Trail descriptions are your first line of defense against unexpectedly challenging hikes. Pay close attention to the following elements: A thorough description will paint a clear picture of the trail’s difficulty and suitability for you. Don’t be shy about looking for detailed information; it’s there to help you make an informed decision.
- Elevation Profile: Look for phrases like “mostly flat,” “gentle incline,” “minimal elevation change,” or a graph clearly showing a nearly flat line. Avoid trails described as having “significant elevation gain,” “steep climbs,” or “challenging ascents.” For example, a description mentioning a total elevation gain of under 200 feet (60 meters) over a 3-mile (5km) trail strongly suggests minimal elevation gain.
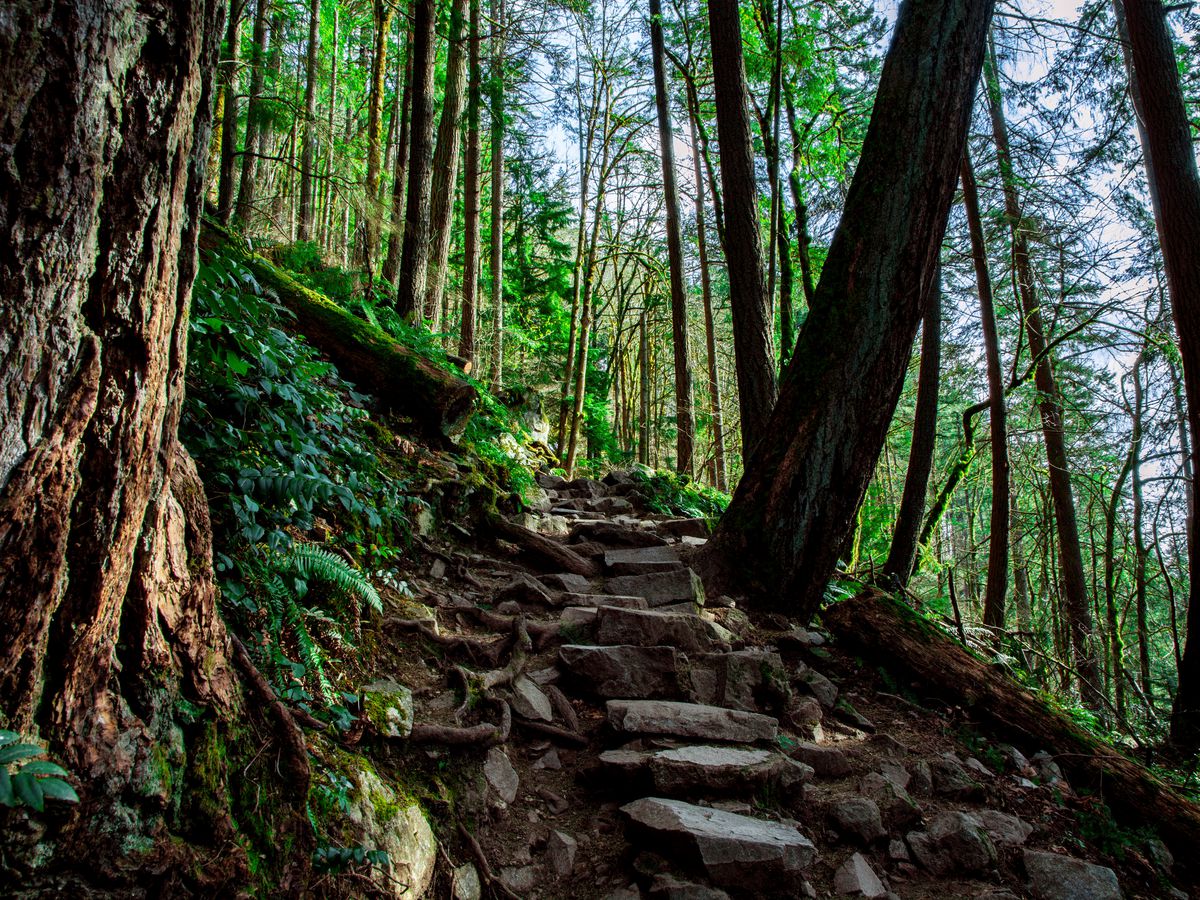
- Trail Surface: Well-maintained, even trails are your friends. Look for descriptions mentioning “smooth,” “packed dirt,” “well-groomed,” or “paved” surfaces. Avoid trails described as having “rocky,” “rooty,” “steep,” “uneven,” or “loose gravel” surfaces, as these can increase difficulty.
- Water Sources: Knowing if water is available along the trail is important, especially on longer hikes. Look for mentions of streams, creeks, or springs. If water isn’t available, ensure you know how much to carry.
- Trail Markers: Well-marked trails reduce the chance of getting lost. Look for descriptions that mention “clearly marked,” “well-maintained blazes,” or a specific trail marking system. Avoid trails described as “poorly marked,” “unmaintained,” or “difficult to follow.”
Red Flags in User Reviews
User reviews offer valuable insights from those who’ve actually hiked the trail. While positive reviews are great, it’s the negative ones that often reveal hidden challenges. Pay particular attention to these warning signs:
- Discrepancies with the Trail Description: If users report a significantly steeper incline or rougher terrain than the description suggests, be wary. For example, if the description mentions a “gentle slope” but reviews mention “several steep climbs,” you should reconsider.
- Frequent Mentions of Difficulty: Words like “strenuous,” “challenging,” “difficult,” “tough,” or “exhausting” should raise red flags, even if used in conjunction with positive comments about scenery.
- Complaints about Poor Trail Conditions: Overgrown vegetation, washed-out sections, or lack of trail markers are all signs of a trail that might be more difficult than advertised. Look for comments about trail closures or sections needing repair.
- Injuries Reported: If multiple reviews mention injuries, especially ankle sprains or falls, this suggests a potentially hazardous trail with uneven terrain or poor trail conditions.
Visualizing Trail Information
Understanding a trail’s difficulty and suitability often hinges on visualizing its key characteristics. A simple elevation profile and a clear map can make all the difference in choosing the perfect easy hike. Let’s explore how these visuals can help you plan your next adventure.
Visual aids like elevation profiles and maps are essential for pre-planning your hike. They provide a clear picture of the terrain, allowing you to assess the trail’s difficulty and identify potential challenges before you even set foot on the path. This preemptive visualization helps to avoid unexpected surprises and ensures a safer and more enjoyable hiking experience.
Elevation Profile of an Easy Hike
Imagine a line graph. The horizontal axis represents the distance along the trail, and the vertical axis represents the elevation. For an easy hike with minimal elevation gain, this line would be relatively flat. There might be a few gentle undulations – perhaps a slight rise of 50 feet over a half-mile, followed by a gradual descent of the same amount.
The overall change in elevation across the entire trail, however, would remain minimal, perhaps only a total of 100-200 feet over a distance of 3 miles. The line would remain largely within a narrow band, indicating a consistent and gentle elevation. This contrasts sharply with a challenging hike, where the line would show significant peaks and valleys, representing steep ascents and descents.
This flat, consistent line on the graph is the hallmark of an easy, low-elevation-gain trail.
Sample Map of an Easy Hiking Trail
Our sample map would be a simplified representation, focusing on essential information. The map would use a scale, perhaps 1 inch equals 0.5 miles, to show the trail’s length and overall layout. The trailhead would be clearly marked with a distinct symbol, such as a small hiker icon. The trail itself would be depicted as a continuous line, possibly with variations in line thickness to denote changes in surface type (e.g., wider line for paved sections, thinner line for dirt trails).
Significant landmarks, such as a scenic overlook (represented by a small picture of a viewpoint), a stream crossing (represented by a wavy blue line), or a bench for resting (represented by a small bench icon), would be clearly marked along the trail with labels. Trail junctions, if any, would be indicated with clear markings and directional arrows to guide hikers.
The map’s overall aesthetic would be clean and uncluttered, avoiding unnecessary details that might confuse the hiker. The map’s legend would clearly define all symbols used. This map would serve as a readily understandable guide, ensuring that even first-time hikers can navigate the trail confidently.
Preparing for an Easy Hike
Even a seemingly effortless stroll through nature requires some preparation. Underestimating the essentials can quickly turn a relaxing hike into an uncomfortable, or even dangerous, experience. Remember, being prepared ensures you can fully enjoy the tranquility and beauty of your chosen trail.Preparing for an easy hike doesn’t mean skimping on the essentials. Even short, low-elevation trails present potential challenges like unexpected weather changes or minor injuries.
In this topic, you find that Pendakian singkat di alam dengan pemandangan air terjun yang menakjubkan is very useful.
Having the right gear and planning ahead makes all the difference in transforming your experience from potentially stressful to thoroughly enjoyable.
Essential Hiking Items
A well-stocked backpack is your best friend on any hike. This isn’t about carrying excessive weight; it’s about having the necessary items readily available should you need them. Consider this your personal safety net, ensuring comfort and preparedness for any minor unexpected event.
- Water: Carry at least one liter of water per person, more in warmer weather. Dehydration can quickly sap your energy and enjoyment.
- Snacks: Pack high-energy snacks like trail mix, energy bars, or fruit to keep your energy levels up.
- First-aid kit: Include bandages, antiseptic wipes, pain relievers, and any personal medications.
- Map and compass/GPS device: Even on well-marked trails, it’s wise to have a backup navigation system.
- Sunscreen and insect repellent: Protect yourself from the elements, especially during warmer months.
- Headlamp or flashlight: Essential if your hike extends into the late afternoon or evening.
- Rain gear: A lightweight rain jacket and pants can be lifesavers if the weather turns unexpectedly.
- Extra layers of clothing: Temperatures can fluctuate, especially at higher altitudes or in shaded areas.
Appropriate Footwear and Clothing
Choosing the right footwear and clothing is crucial for comfort and safety. While you might not need heavy-duty hiking boots for an easy hike, supportive footwear is still paramount. Similarly, dressing in layers allows you to adjust to changing temperatures and conditions.
- Footwear: Sturdy walking shoes or trail running shoes with good ankle support are ideal. Avoid flip-flops or sandals, as they offer little protection.
- Clothing: Wear moisture-wicking fabrics that will keep you dry and comfortable. Layers allow you to adjust to changing temperatures. Consider a hat for sun protection and a light jacket or fleece for warmth.
Sample Packing List
This list provides a practical starting point. Adjust it based on the specific trail, weather conditions, and the duration of your hike.
- 2 liters of water
- Trail mix and energy bar
- Small first-aid kit (bandages, antiseptic wipes, pain relievers)
- Smartphone with a downloaded map app
- Sunscreen (SPF 30 or higher)
- Insect repellent
- Baseball cap
- Lightweight rain jacket
- Comfortable hiking shoes
- Extra pair of socks
Respecting the Environment
Easy hikes, while offering a refreshing escape, demand responsible behavior to preserve the beauty of nature for future adventurers. Leaving no trace isn’t just a catchy phrase; it’s a commitment to minimizing our impact on the trails we love. By following simple guidelines, we can ensure these peaceful paths remain pristine for generations to come.Leaving no trace principles are all about minimizing your impact on the environment.
This means planning ahead, staying on marked trails, packing out everything you pack in, leaving what you find, and minimizing campfire impacts (which are less relevant for easy hikes that don’t involve overnight stays). Essentially, it’s about treating the natural world with the respect it deserves.
Leave No Trace Principles in Practice
The core principles of Leave No Trace translate directly into practical actions on easy hikes. For example, properly disposing of waste is crucial. This means bringing a trash bag and packing out everything, including orange peels and banana skins, which may seem biodegradable but can take a long time to decompose in the wild and disrupt the ecosystem.
Staying on designated trails prevents erosion and protects sensitive vegetation. Even a seemingly insignificant shortcut can contribute to trail widening and habitat damage over time.
Responsible Trail Etiquette
Beyond the Leave No Trace principles, responsible trail etiquette enhances the hiking experience for everyone. Yielding to uphill hikers is a common courtesy that shows respect for fellow trail users. Uphill hikers exert more effort and deserve the right-of-way. Quiet enjoyment of the environment is also important; loud music or excessive chatter can disrupt the peaceful atmosphere for others seeking tranquility.
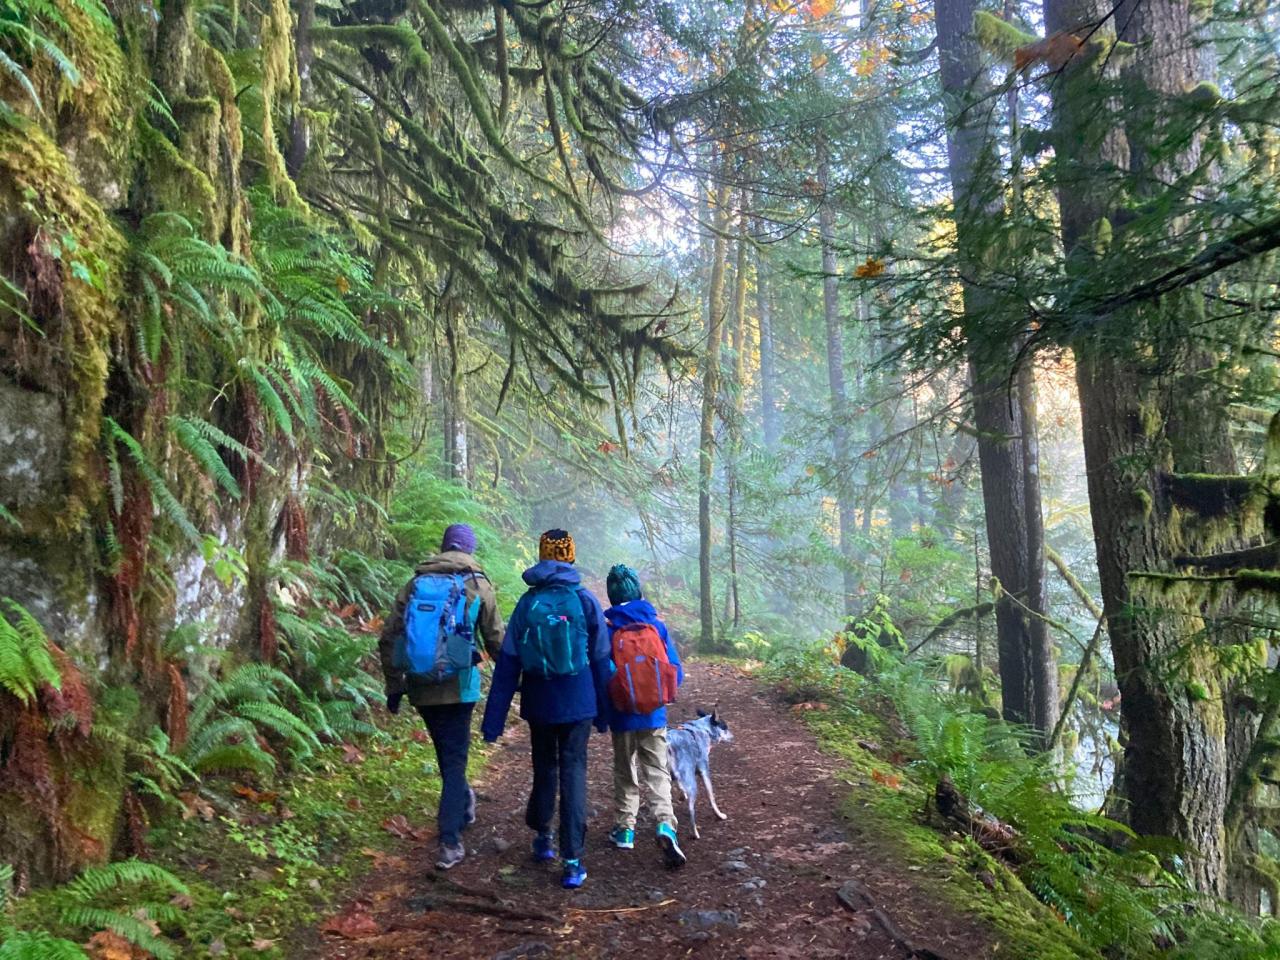
Finally, keeping dogs leashed, if permitted, protects wildlife and prevents potential conflicts with other hikers. Imagine a small dog chasing a rabbit, disrupting the delicate balance of the ecosystem, or startling a fellow hiker who might be afraid of dogs.
Summary
So, ditch the daunting mountains and embrace the gentle trails! Finding easy hikes with minimal elevation gain is totally achievable with the right resources and a bit of know-how. Remember to always check trail conditions before heading out, pack appropriately, and respect the environment. Happy hiking!