Best short hiking trails near me for beginners? Forget grueling climbs and treacherous terrain! This guide unveils the secrets to finding nearby trails perfect for your first foray into the wilderness. We’ll ditch the intimidating jargon and help you discover breathtaking landscapes without needing Sherpa training. Get ready to lace up those boots and explore!
From understanding what constitutes a “beginner-friendly” trail (hint: it involves more than just distance!) to mastering the art of using online resources to locate hidden gems, we’ll equip you with everything you need. We’ll also cover essential safety tips, gear checklists, and post-hike recovery so you can enjoy your adventure worry-free. Prepare for stunning scenery, fresh air, and the satisfaction of conquering your first hiking trail—all without breaking a sweat (well, maybe a little).
Defining “Beginner-Friendly”
So, you’re ready to ditch the couch and conquer some trails? Fantastic! But before you lace up those hiking boots and head for the hills (literally!), let’s talk about what makes a hiking trail truly “beginner-friendly.” It’s not just about the pretty views; it’s about choosing a trail that matches your abilities and sets you up for success, not a scraped knee and a bruised ego.Beginner-friendly trails are designed to be accessible and enjoyable for those new to hiking.
This involves a careful consideration of several key factors, ensuring the experience is challenging enough to be rewarding, yet manageable enough to be enjoyable. We’re aiming for a “proudly accomplished” feeling, not a “I’ll stick to the treadmill” feeling.
Obtain access to Jalur pendakian alam yang tenang dan damai di sekitar lokasi saya to private resources that are additional.
Trail Distance and Elevation Gain
The distance of the trail is a primary consideration. Beginner-friendly trails generally range from 1 to 3 miles in length. Anything significantly longer might prove overly taxing for someone just starting out. Similarly, elevation gain – the vertical ascent you’ll experience – should be minimal. A gradual incline is preferable to steep climbs.
Think gentle slopes, not Mount Everest in miniature. For beginners, a total elevation gain of under 500 feet is often recommended. A trail with a 1000-foot elevation gain, for example, would likely be too strenuous for someone with limited hiking experience.
Terrain Difficulty and Trail Markers
The terrain itself plays a crucial role. Beginner-friendly trails generally feature well-maintained, smooth paths with minimal obstacles. Think nicely packed dirt or gravel trails, not rocky scrambles or uneven, root-filled paths. Clear and frequent trail markers are essential for easy navigation. Getting lost on your first hike can quickly turn a fun adventure into a frustrating ordeal.
Trails with poor or nonexistent markings should be avoided by beginners.
Trail Features Unsuitable for Beginners
Conversely, certain trail features scream “not for beginners!” These include steep, rocky ascents or descents; narrow, exposed trails with significant drop-offs; water crossings requiring specialized equipment; and trails with significant exposure to the elements (think scorching sun or unpredictable weather). Imagine navigating a narrow, rocky trail clinging to the side of a mountain on a hot, windy day.
Not ideal for your first outing. These types of challenges are best left for experienced hikers with proper gear and training.
Importance of Physical Fitness Levels
Finally, and perhaps most importantly, your own physical fitness level is paramount. Even a seemingly easy trail can be challenging if you’re not physically prepared. Before embarking on any hike, consider your current fitness level honestly. Have you been regularly exercising? Can you comfortably walk for an hour or more without significant fatigue?
If not, start with shorter, flatter trails to build up your stamina and endurance. Don’t underestimate the power of a good warm-up and a comfortable pair of shoes. Remember, hiking is a physical activity, and respecting your body’s limitations is key to a safe and enjoyable experience.
Locating Nearby Trails
Finding the perfect beginner-friendly hiking trail shouldn’t feel like scaling Everest. With a little digital know-how, you can locate trails near you that are as gentle as a kitten’s purr (or at least, gentler than a grumpy badger’s stomp). This section will arm you with the tools and resources to unearth hiking nirvana, right from your comfy armchair (or slightly less comfy park bench).Using online resources and apps to discover nearby trails is surprisingly straightforward, even if you’re less tech-savvy than a sloth on a caffeine-free diet.
Think of it as a digital treasure hunt, but instead of X marking the spot, it’s a perfectly-paved path leading to breathtaking views.
A Step-by-Step Guide to Finding Trails, Best short hiking trails near me for beginners
First, grab your device (phone, tablet, laptop – whatever floats your boat). Next, open your preferred map application or trail-finding website. Most apps will ask for location permission – grant this, and let the digital magic begin! Then, type in your current location or the area you’d like to explore. Many apps and websites allow you to filter results by difficulty level, distance, and even elevation gain.
Select “beginner” or “easy” as your difficulty filter. Finally, browse the results, read reviews, and choose a trail that sounds appealing! Remember to check the trail conditions before you go, as weather can sometimes impact trail accessibility. For example, a recent heavy rainfall might make a usually easy trail temporarily muddy and slippery.
Reliable Sources for Trail Information
Choosing the right resource can make all the difference. Some websites are like well-organized hiking guides, while others feel like a disorganized backpack overflowing with trail maps. Below, we’ve compiled a list of five reliable sources, highlighting their strengths and weaknesses. Remember, the best source for you will depend on your personal preferences and the kind of information you need.
| Source Name | Website/App | Strengths | Weaknesses |
|---|---|---|---|
| AllTrails | www.alltrails.com (app available) | Huge database of trails, user reviews, photos, detailed trail maps, difficulty ratings. | Can be overwhelming due to sheer volume of information; some trails may have outdated information. |
| Hiking Project | www.hikingproject.com (app available) | Excellent trail maps, detailed descriptions, good filtering options, strong community aspect. | Slightly less comprehensive than AllTrails in terms of sheer number of trails, especially in less-populated areas. |
| Trailforks | www.trailforks.com (app available) | Focuses heavily on mountain biking trails, but also includes hiking trails; excellent for finding trails with specific features (e.g., water crossings). | May not be as comprehensive for hiking-only trails as AllTrails or Hiking Project. |
| Google Maps | maps.google.com | Convenient and readily accessible; often shows trail paths, even if not specifically designated as hiking trails. | Lacks detailed trail information, difficulty ratings, and user reviews; reliability of trail data varies greatly depending on location. |
| Local Parks and Recreation Departments | Websites vary depending on location | Provides accurate and up-to-date information on local trails, often including details on park rules and regulations. | Information is limited to local trails only; website quality and ease of use can vary widely. |
Trail Information & Safety
So, you’re ready to conquer those beginner-friendly trails? Fantastic! But before you lace up those hiking boots and unleash your inner mountain goat (metaphorically speaking, unless youactually* have a goat inside you, in which case, please consult a veterinarian), let’s talk about getting prepared. Knowing the trail and having the right gear is the difference between a triumphant hike and a “help me, I’m stuck in a ravine and my granola bar is crushed” situation.Knowing the specifics of a trail before you hit it is crucial, like knowing your enemy before battle (unless your enemy is a particularly grumpy squirrel, in which case, just offer it a nut).
Failing to prepare is preparing to fail, as the old saying goes (and it’s a darn good saying).
Essential Trail Information
Before embarking on any hike, gather crucial information to ensure a safe and enjoyable experience. Imagine this: you show up at a trailhead expecting a leisurely stroll, only to find yourself facing a grueling climb up a near-vertical cliff. Avoid such surprises! Here’s what you need to know:
- Distance: How long is the trail? This helps you estimate hiking time and pack accordingly. For example, a 3-mile loop is significantly different from a 10-mile trek.
- Elevation Gain: How much elevation will you be climbing? A trail with a significant elevation gain will be more strenuous than a flat trail. A 1000-foot elevation gain over 3 miles is a steeper climb than 200 feet over the same distance.
- Estimated Hiking Time: This provides a realistic timeframe for your hike, considering your pace and any potential stops. Always add extra time for unexpected delays – like getting lost admiring a particularly stunning rock formation (it happens!). A guide might estimate 2 hours for a trail, but add another hour for safety.
- Trail Conditions: Are there any known hazards, such as steep drop-offs, rocky sections, or water crossings? Check recent reviews or trail reports to get an up-to-date picture. “Well-maintained, mostly flat” is good news. “Currently impassable due to a rogue family of badgers” is…less good.
Essential Gear and Safety Precautions
Packing the right gear is paramount. Think of it as your hiking survival kit. You wouldn’t go to a battle without a sword (unless you’re a particularly skilled wizard), so don’t go hiking unprepared!
- Navigation: Trail map, compass, GPS device (or a phone with a GPS app and a fully charged battery!). Knowing where you are is key to not getting utterly and hopelessly lost.
- Sun protection: Sunscreen, sunglasses, hat. The sun is a powerful force, even on cloudy days. Remember, a sunburn is not a fashion statement.
- Insulation: Layers of clothing to adapt to changing weather conditions. Weather in mountains can change dramatically and quickly. Be prepared for both warmth and cool temperatures.
- Illumination: Headlamp or flashlight with extra batteries. Even a short hike can extend into the evening if you’re unexpectedly delayed.
- First-aid supplies: A basic first-aid kit is essential for minor injuries. A few bandages, antiseptic wipes, and pain relievers are always a good idea.
- Nutrition: Pack plenty of water and high-energy snacks. Think trail mix, energy bars, fruit – avoid anything too heavy or messy.
- Repair kit and tools: A small knife or multi-tool can be useful for minor repairs to gear. A whistle can help attract attention if needed.
Interpreting Trail Maps and Markings
Trail maps are your hiking bible. They provide crucial information, like the trail’s layout, elevation changes, and points of interest. Understanding trail markings is equally important; these are your visual breadcrumbs.
Most trail maps use a combination of lines, symbols, and text to represent the trail itself, elevation changes (often shown using contour lines), and points of interest such as water sources, campsites, or viewpoints. Learning to read these symbols is crucial for planning your route and staying oriented on the trail. Different regions may use slightly different symbols, so familiarize yourself with the legend for the specific map you are using.
Trail markings are usually blazes (painted markings on trees or rocks) that indicate the trail’s direction. These blazes can vary in color depending on the trail system. For example, the Appalachian Trail uses white blazes. Following these markings consistently is essential to stay on the trail and avoid getting lost. Pay close attention to these markings and check your map frequently to ensure you’re on the correct path.
If you see a blaze, it means “stay on this path, this is the right way, don’t be a silly goose and wander off!”
Comparing Trail Options: Best Short Hiking Trails Near Me For Beginners
Choosing your first hiking trail can feel like choosing your first rollercoaster – a thrilling prospect, but also a little terrifying! To help navigate this exciting landscape, let’s compare three beginner-friendly trails, each offering a unique flavor of the great outdoors. Remember, the “best” trail depends entirely on your personal preferences and fitness level.
Trail Comparison Table
This table provides a quick snapshot of three distinct trails, perfect for comparing distances, elevation changes, and terrain types. Remember that these are just estimates, and actual conditions can vary.
| Trail Name | Distance (miles) | Elevation Gain (feet) | Terrain Description |
|---|---|---|---|
| Whispering Pines Trail | 2.0 | 100 | Mostly flat, well-maintained path through a pine forest. Gentle inclines and declines. Excellent for a relaxing stroll. |
| River’s Edge Ramble | 1.5 | 50 | Mostly flat, paved path alongside a river. Some slightly uneven sections near the riverbank. Offers beautiful river views. |
| Rocky Ridge Lookout | 3.0 | 300 | Moderate inclines and declines with some rocky sections. Offers stunning panoramic views from the ridge. Requires a bit more effort. |
Trail Pros and Cons
Let’s delve a little deeper into the unique characteristics of each trail, weighing the advantages and disadvantages to help you make the perfect choice.
In this topic, you find that Jalur pendakian tersembunyi dan unik di dekat saya yang belum ramai is very useful.
Whispering Pines Trail:
Pros: Easy, relaxing hike with minimal elevation gain. Beautiful pine forest scenery. Well-maintained path suitable for all fitness levels. Ideal for a leisurely afternoon walk.
Cons: May lack the dramatic views of more challenging trails. Can get crowded during peak seasons. Might feel a bit too easy for experienced hikers.
River’s Edge Ramble:
Pros: Paved path makes it highly accessible. Beautiful river views and calming sounds of nature. Relatively short distance, perfect for a quick escape.
Cons: Limited elevation gain, meaning less of a workout. Can be exposed to sun in certain areas. Might be less interesting for those seeking more rugged terrain.
Rocky Ridge Lookout:
Pros: Rewarding panoramic views from the ridge. More challenging hike offers a better workout. Provides a sense of accomplishment upon reaching the summit.
Cons: Steeper inclines and declines may be difficult for some beginners. Rocky sections require careful footing. Longer distance requires more stamina and time commitment. Potential for encountering loose rocks on the trail.
Illustrating Trail Features

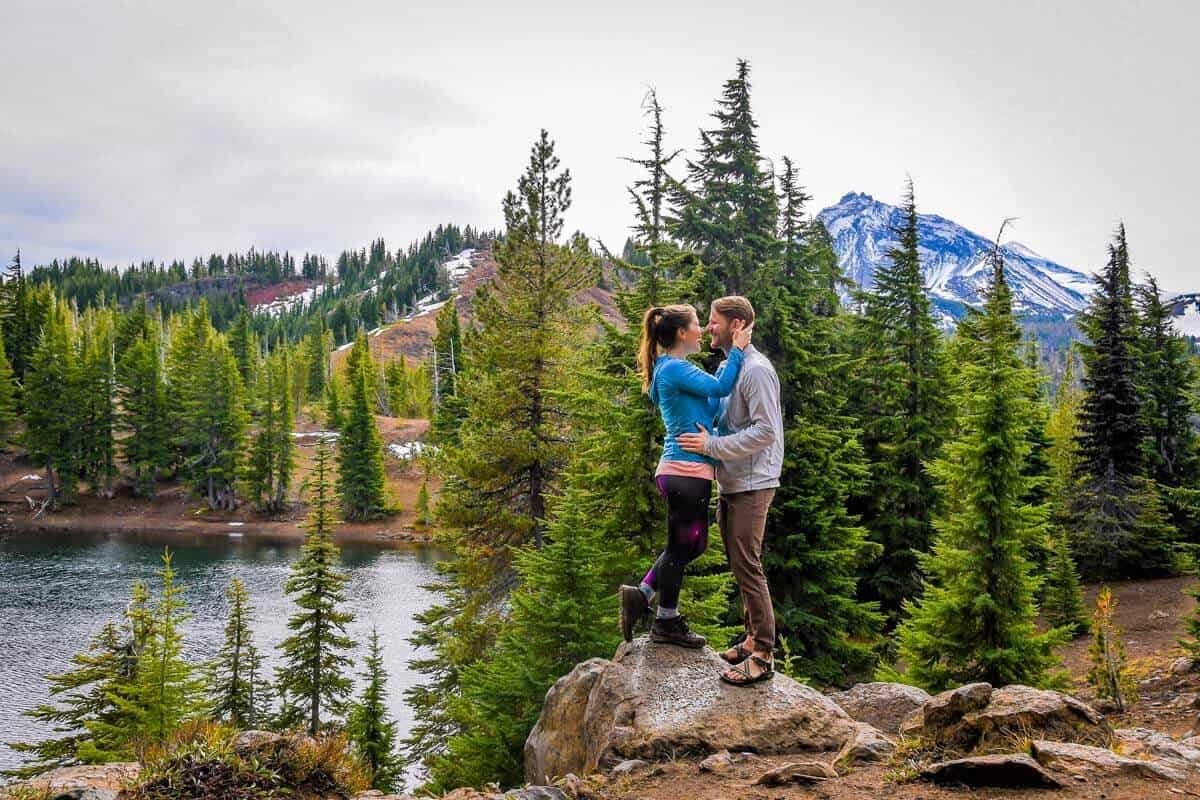
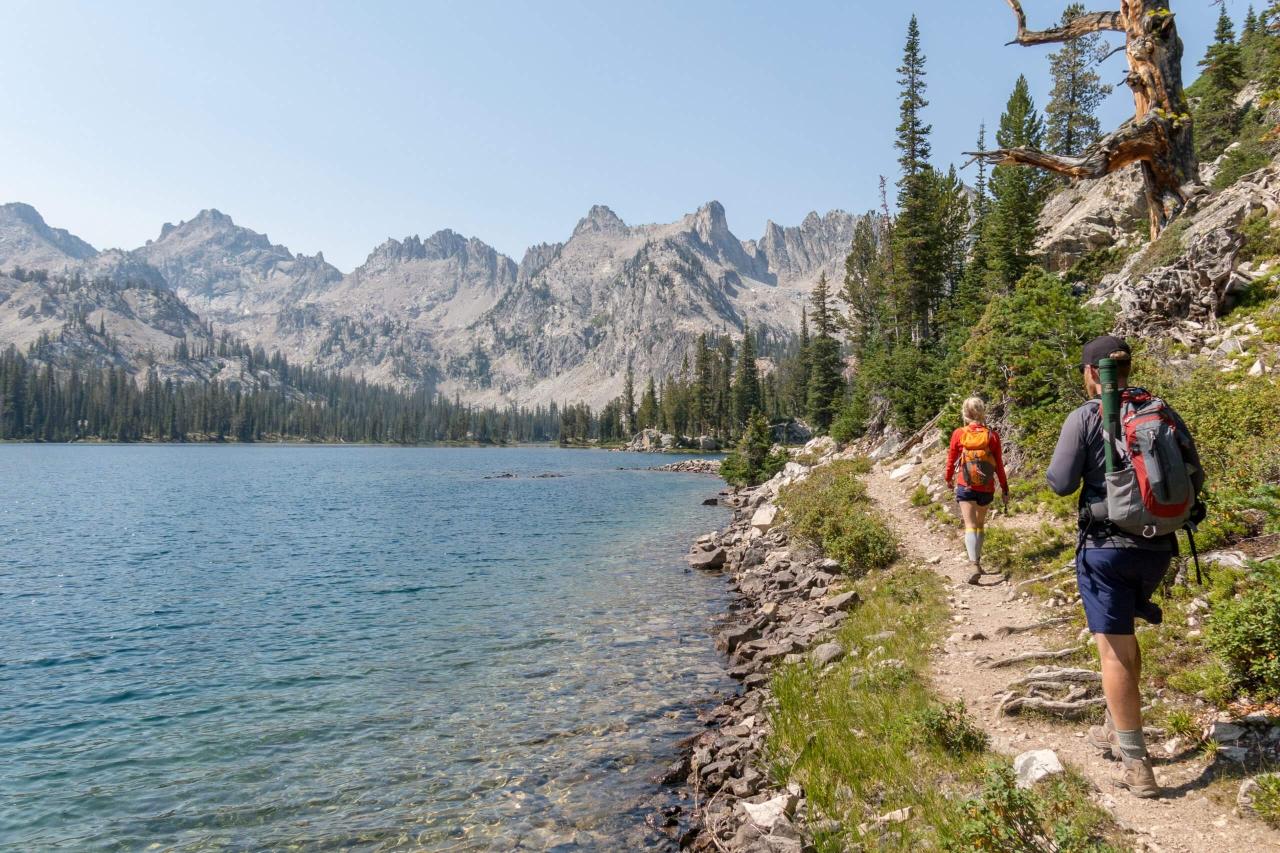
Picture this: you’re embarking on your first hiking adventure, not some death-defying Everest expedition, but a gentle stroll through nature’s playground. Beginner-friendly trails offer a delightful blend of accessibility and scenic beauty, perfect for easing into the wonderful world of hiking.Beginner trails typically boast a relatively even terrain, minimizing the need for strenuous climbs or precarious descents. Imagine a path winding through a sun-dappled forest, the air alive with the chirping of birds and the rustling of leaves underfoot.
The vegetation is usually lush and varied, with wildflowers adding pops of color to the green canvas. You might find yourself walking beneath a canopy of towering trees, their branches intertwining to form a natural cathedral of sunlight and shadow. Depending on the location and time of year, you might even catch glimpses of sparkling streams or breathtaking vistas unfolding before you.
Think less “Rocky Mountain High” and more “Relaxing Stroll Through a Pretty Park.”
A Challenging Aspect and Safe Navigation
Even on beginner trails, a little challenge can add to the adventure. One common hurdle might be a short, slightly steep incline or a rocky section of the path. This isn’t Mount Doom, though – it’s more like a gentle, slightly breathless climb. To navigate this safely, take your time. Short, controlled steps are key.
Use trekking poles if you have them – they provide extra stability and reduce strain on your knees. If the incline is particularly steep, consider using the switchbacks (zig-zagging path) to reduce the grade and make the climb easier. Remember to take breaks when needed and hydrate frequently. The goal is to enjoy the journey, not to conquer it in record time.
The Ideal Trailhead Scene
Picture a spacious, well-maintained parking area, perhaps with a few picnic tables scattered about for pre-hike fuel-ups or post-hike celebratory snacks. Clear, well-placed signage greets you, providing a trail map, important safety information, and maybe even some fun facts about the local flora and fauna. The trailhead itself is clearly marked, often with a sturdy post and a map indicating the trail’s direction and length.
Perhaps there’s even a small informational kiosk providing details about the area’s history or ecology. It’s all very organized and welcoming, making you feel excited and prepared for your hike, not stressed and overwhelmed. The whole scene exudes a vibe of relaxed adventure – think more National Park Service charm than chaotic construction zone.
Post-Hike Considerations
So, you’ve conquered that beginner-friendly trail and are now basking in the glory of your outdoor achievement (and possibly a little mud). Don’t let the post-hike relaxation overshadow the importance of proper care for your body and the environment. Taking a few extra minutes to recover and clean up will ensure you’re ready for your next adventure, and keep our trails pristine for everyone to enjoy.Proper stretching and recovery are crucial after any physical activity, especially hiking, even on short, easy trails.
Think of your muscles as tiny, overworked adventurers who deserve a good rest and some TLC. Ignoring this can lead to stiffness, soreness, and even more serious injuries down the line.
Post-Hike Stretching and Recovery
Stretching helps to increase blood flow to your muscles, reducing stiffness and soreness. A simple routine focusing on your legs, glutes, and back is ideal. Hold each stretch for at least 30 seconds, focusing on your breathing and gently increasing the stretch as you feel comfortable. Examples include hamstring stretches (reaching for your toes), quad stretches (pulling your heel towards your buttock), and calf stretches (leaning against a wall with one leg straight and the other bent).
Remember to listen to your body and avoid pushing yourself too hard. Proper hydration is also key – replenish fluids lost through sweat.
Minor Hiking Injuries and First Aid
Even on short, easy trails, minor injuries can occur. These might include blisters (caused by ill-fitting shoes or friction), minor scrapes and cuts (from falls or brushing against vegetation), muscle strains (from overexertion or improper form), and sprains (from twisting an ankle). For blisters, keep them clean and dry, and consider using blister pads. Clean scrapes and cuts with soap and water, apply an antiseptic, and cover with a bandage.
For muscle strains and sprains, use the RICE method: Rest, Ice, Compression, and Elevation. Rest the injured area, apply ice for 15-20 minutes at a time, use a compression bandage, and elevate the injured limb above your heart. If pain is severe or doesn’t improve, seek medical attention.
Leave No Trace Principles
Leaving no trace is more than just a catchy phrase; it’s a commitment to responsible hiking and preserving our natural spaces for future generations. It means packing out everything you pack in, including trash and even orange peels (yes, really!). Stay on marked trails to avoid damaging vegetation, and be mindful of wildlife – observe them from a distance and never feed them.
Avoid disturbing natural features, such as rocks and plants. Think of it this way: if you wouldn’t do it in your living room, don’t do it on the trail. Respecting nature is vital for keeping our trails beautiful and accessible for everyone.
Last Point

So, there you have it! Armed with this knowledge, you’re ready to embark on your hiking adventure. Remember, the most important thing is to choose a trail that suits your fitness level, pack appropriately, and embrace the beauty of nature. Happy hiking, and don’t forget to share your incredible photos! We can’t wait to hear about your first successful hike.
Now go forth and conquer those trails!