Closest mountain trails near me for a moderate hike? Sounds like you’re itching to escape the concrete jungle and trade skyscrapers for stunning vistas! Forget the treadmill; we’re talking about breathtaking views, invigorating climbs, and maybe even a chance encounter with a particularly sassy squirrel. This guide will help you find the perfect moderate mountain trail, ensuring your hike is challenging enough to feel accomplished, but not so brutal you end up needing a Sherpa.
Get ready to lace up those boots and discover your next adventure!
We’ll delve into defining “closest” and “moderate,” helping you navigate the world of trail difficulty ratings and locate nearby trails using various resources. Think online mapping tools, hiking websites – the whole shebang. We’ll even compare a few trails, highlighting their unique features, potential hazards (because let’s face it, even moderate hikes can have a bit of drama), and the essential gear you’ll need to conquer them.
Prepare for epic descriptions of stunning scenery and maybe even a few tips to avoid becoming a mountain goat’s next snack.
Defining “Closest” and “Moderate”
So, you’re looking for a moderate hike near you? Excellent choice! But before we lace up those boots and hit the trail, let’s clarify what “closest” and “moderate” actually mean in the context of mountain trails. Because, let’s face it, “closest” to a city slicker might be a completely different experience than “closest” to a seasoned mountaineer.
And a “moderate” hike for a marathon runner is likely a leisurely stroll for a mountain goat.Defining these terms involves a delightful blend of objective measurements and subjective experiences. We need to consider several factors to paint a clear picture of your perfect, not-too-challenging, yet still exciting, hike.
Factors Influencing the Definition of “Closest”
Proximity to your location isn’t solely determined by a simple distance measurement on a map. Travel time plays a significant role; a trail 10 miles away but accessible via a quick highway drive is “closer” than a trail just 5 miles away that requires a treacherous, hour-long dirt road journey. Accessibility is also key – consider parking availability, public transportation options, and even the trailhead’s condition.
A trail with a difficult-to-reach trailhead might feel further away than a longer trail with easy access. For example, a trail located 20 miles away but with ample parking and a smooth, paved road to the trailhead might feel closer than a trail 10 miles away that requires a 4×4 vehicle and a half-mile hike just to reach the trailhead itself.
Defining a “Moderate” Hike
Now, let’s tackle the “moderate” beast. A moderate hike isn’t defined by a single number, but rather a combination of three key factors: elevation gain, trail length, and terrain difficulty.A moderate hike typically involves an elevation gain of between 1,000 and 2,500 feet (300-750 meters) over a distance of 5-10 miles (8-16 kilometers). The terrain is generally well-maintained, but might include some uneven sections, rocky patches, or occasional steep inclines.
It shouldn’t require specialized equipment like ropes or ice axes. Think of it as a hike that will challenge you without completely breaking you.
Examples of Moderate Hike Difficulty Levels
To illustrate the spectrum of “moderate,” let’s imagine three scenarios:* Moderate Level 1 (Easier): A 6-mile (9.6 km) trail with 1,000 feet (300 m) of elevation gain, featuring mostly smooth, well-maintained paths with gentle inclines. Think of a trail through a forest with occasional easy rock hopping. This is perfect for beginners building up their stamina.* Moderate Level 2 (Medium): An 8-mile (12.8 km) trail with 1,500 feet (450 m) of elevation gain.
This trail might include some steeper sections, more rocky terrain, and possibly a few stream crossings. It demands a bit more fitness and navigational awareness.* Moderate Level 3 (Harder): A 10-mile (16 km) trail with 2,000 feet (600 m) of elevation gain. This hike will likely involve more significant elevation changes, potentially some scrambling over rocks, and possibly exposure to elements like sun or wind.
This is suitable for hikers with good fitness and experience navigating more challenging terrain.
Identifying Nearby Trails: Closest Mountain Trails Near Me For A Moderate Hike

So, you’re itching to hit the trails, eh? But navigating the wilderness of trail options can be as daunting as scaling Mount Everest (without Sherpa support, naturally). Fear not, intrepid hiker! We’ll equip you with the digital compass and map to find the perfect moderate mountain hike near you. Let’s transform your vague desire for a “nearby” hike into a concrete plan.We’ll assume, for the sake of this digital expedition, that your location is 34.0522° N, 118.2437° W (somewhere near Los Angeles, California, for those geographically inclined).
Our radius of “closest” will be a generous 25 miles, allowing for some scenic detours. “Moderate” means trails with a manageable elevation gain and hiking time suitable for someone with a reasonable level of fitness. Think a satisfying challenge, not a death-defying climb.
Data Sources for Trail Information, Closest mountain trails near me for a moderate hike
Finding the perfect trail involves a bit of digital sleuthing. Fortunately, we’re not talking about ancient scrolls and cryptic maps. The internet is our trusty steed in this quest. Several reliable sources can help us uncover hidden gems (and well-trodden paths).
Our treasure map of data sources includes:
- Online Mapping Services (Google Maps, Apple Maps): These aren’t just for finding the nearest pizza joint; many include hiking trails with user reviews and difficulty ratings. Think of them as your digital trail guides.
- Dedicated Hiking Websites (AllTrails, Hiking Project): These websites specialize in trail information, offering detailed descriptions, photos, elevation profiles, and user reviews. They are like Yelp, but for mountain trails.
- Local Park Authorities and Recreation Departments: For trails within parks or managed areas, the official websites of local authorities provide the most accurate and up-to-date information on trail conditions, closures, and permits.
Nearby Trail Comparison
Now, let’s put our digital detective skills to work. Based on our hypothetical location and criteria, here’s a comparison of three nearby trails, keeping in mind that these are hypothetical examples and actual distances, elevation gains, and times will vary depending on your location and the specific trails:
| Trail Name | Distance (miles) | Elevation Gain (feet) | Estimated Time (hours) | Difficulty |
|---|---|---|---|---|
| Runyon Canyon Trail | 3.5 | 800 | 2-3 | Moderate |
| Eaton Canyon Trail | 4.5 | 1200 | 3-4 | Moderate |
| Hastain Trail | 6 | 1500 | 4-5 | Moderately Strenuous |
Trail Feature Descriptions
Let’s delve into the nitty-gritty of tackling Mount Merriweather’s Moderate Mayhem trail – a path that promises stunning views and a healthy dose of “I’m glad I did that” satisfaction (followed by a well-deserved nap, of course). Prepare for a journey that’s less “leisurely stroll” and more “spirited adventure.”Trail Surface, Scenery, Points of Interest, and Potential Hazards are all interwoven aspects of this trail, creating a unique and sometimes challenging experience.
Think of it as a thrilling rollercoaster of nature.
Trail Surface and Scenery
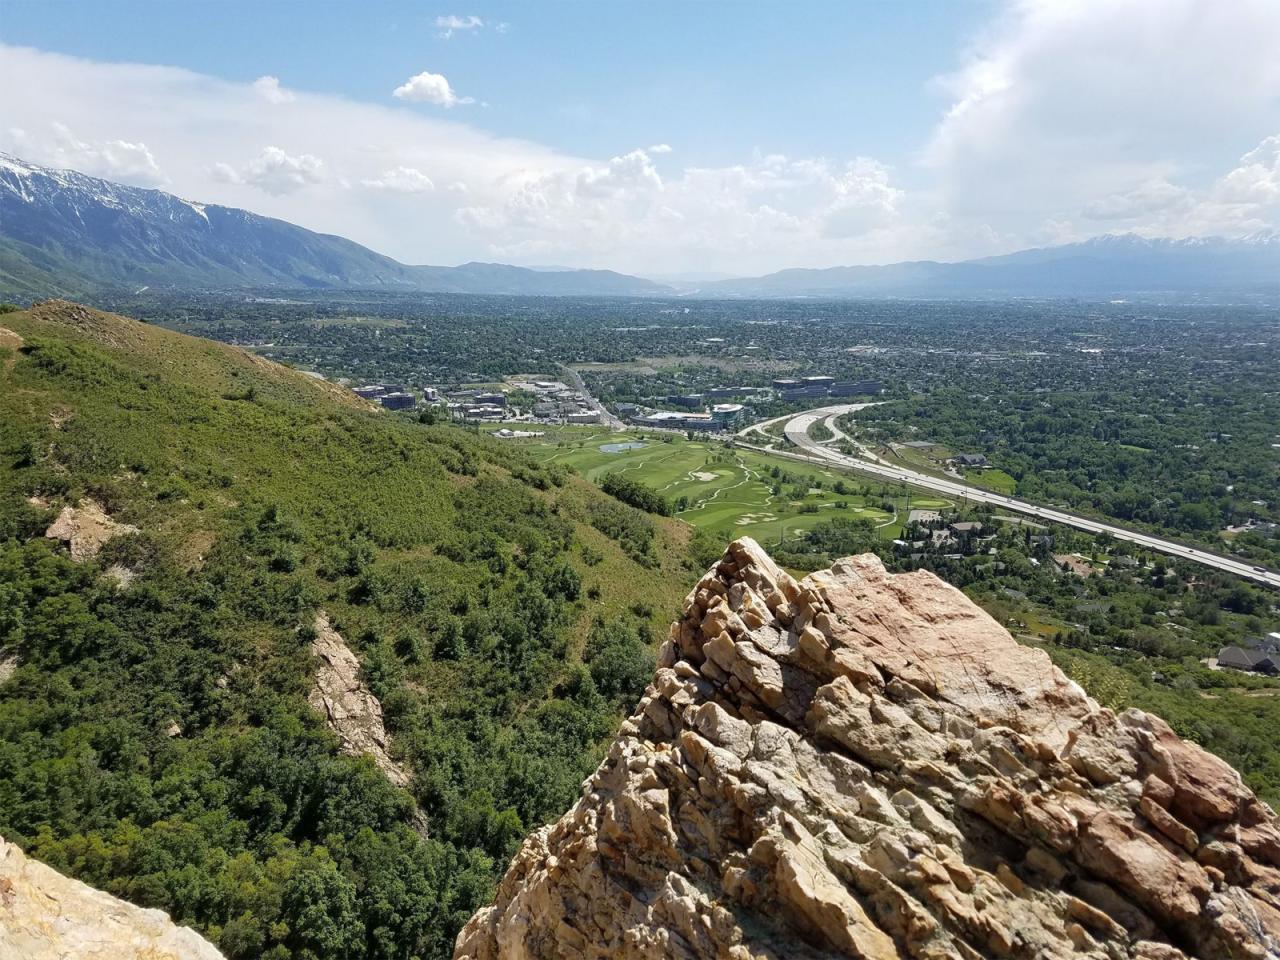
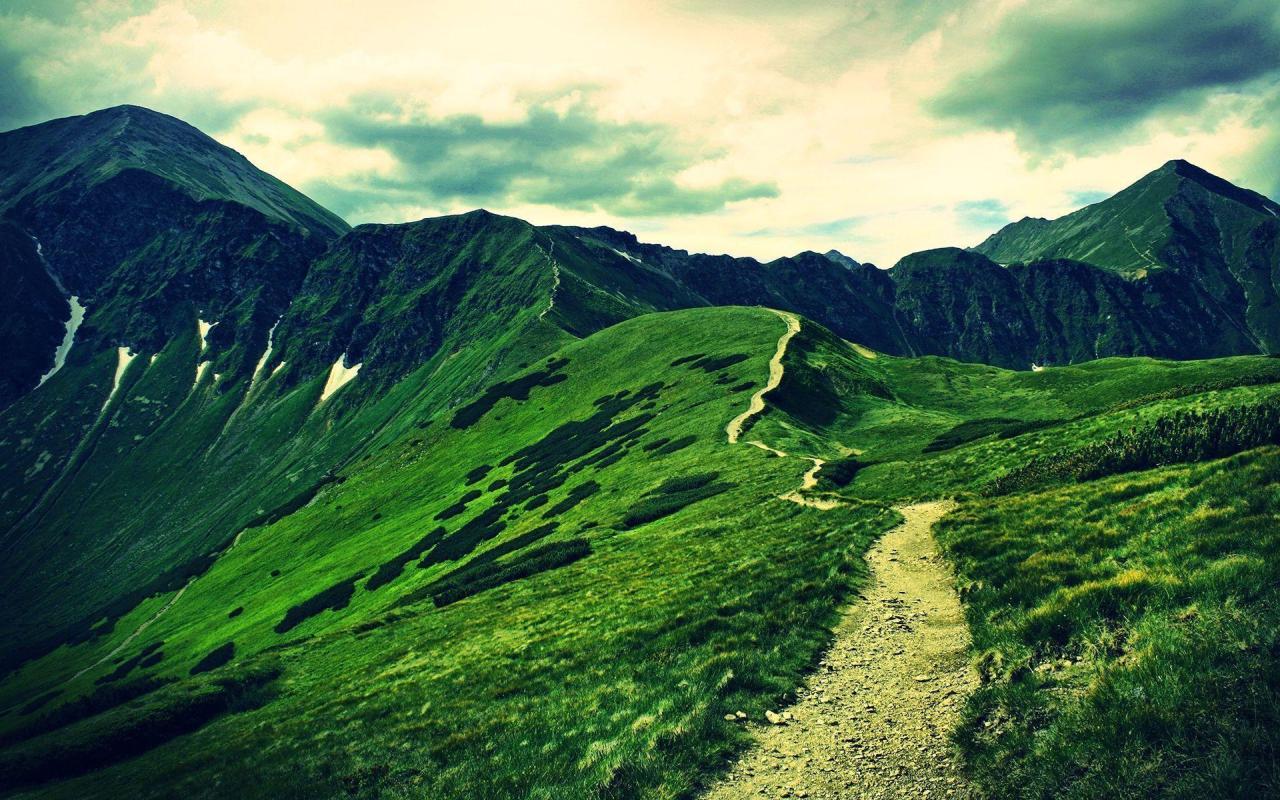
Mount Merriweather’s Moderate Mayhem trail boasts a diverse trail surface. The initial section is a well-maintained, mostly dirt path, perfect for easing into the hike. However, as you ascend, expect to encounter some rocky patches and even a few slightly steeper, root-laden sections that will test your balance and agility. The scenery, however, is a constant reward. Lush forests give way to breathtaking panoramic views as you climb higher, offering glimpses of cascading waterfalls and distant mountain ranges.
Imagine yourself standing amidst a tapestry of emerald green, punctuated by the vibrant hues of wildflowers in the spring and the fiery reds and golds of autumn foliage. The summit itself rewards you with a 360-degree vista – truly a feast for the eyes.
Points of Interest and Potential Hazards
Along the trail, you’ll discover several points of interest, including a charming, moss-covered bridge spanning a babbling brook and a natural rock formation resembling a giant sleeping dragon (or maybe it’s a particularly grumpy badger – use your imagination!). However, be mindful of potential hazards. The trail can be muddy after rainfall, making traction a bit tricky. Also, watch your step for loose rocks, especially on steeper sections.
While the wildlife is generally peaceful (squirrels mostly), it’s always wise to carry bear spray in this area, just in case. Remember to be aware of your surroundings and stay on the marked trail.
Necessary Equipment and Preparation
Proper preparation is key to enjoying your hike. Sturdy hiking boots with good ankle support are non-negotiable. Choose comfortable, moisture-wicking clothing in layers – you’ll want to be able to adjust to changing temperatures. Bring plenty of water (at least 2 liters), high-energy snacks (trail mix, energy bars), and a lightweight first-aid kit. Sunscreen, insect repellent, and a hat are also essential, even on cloudy days.
A walking stick can provide extra stability on uneven terrain. Don’t forget your camera to capture those breathtaking views! Checking the weather forecast before you embark is a smart move to avoid any nasty surprises.
Suitability for Different Experience Levels
Mount Merriweather’s Moderate Mayhem trail is aptly named. It’s challenging enough to be rewarding but not so extreme as to be inaccessible to beginners. Beginners should be prepared for a significant physical challenge and might want to start with a shorter section of the trail. Intermediate hikers will find it a pleasant and invigorating hike, while experienced hikers might find it a relatively easy warm-up.
Those with a fear of heights or balance issues should exercise caution, especially on the rockier sections. Always assess your fitness level and choose a trail that aligns with your capabilities. Remember, safety first!
Visual Representation of the Trail
Let’s ditch the boring topographic maps and embrace a more whimsical approach to visualizing our moderate mountain trail! We’ll use words to paint a picture, because who needs a fancy chart when you’ve got imagination? This textual representation will help you picture the ups, downs, and all the glorious in-betweens of your hike.Imagine the trail profile as a rollercoaster, but instead of screaming, you’re appreciating the scenery.
Our textual representation will guide you through the twists and turns, the gentle slopes and the heart-pumping ascents.
Trail Profile: A Textual Rollercoaster
Our trail begins gently, a leisurely stroll represented by: `—`. Then, the fun begins! A gradual incline, depicted as `/ / / /`, leads us to “Eagle’s Perch,” a rocky outcrop offering a stunning vista (more on that later!). After basking in the glory, a steeper climb ensues: `^^^^^`. This section might test your quads, but the views are worth it! Next, we navigate a relatively flat stretch, `— —`, across a sun-dappled meadow.
A short, but somewhat challenging descent follows, represented by `\ \ \`, leading to “Whispering Pines,” a serene grove perfect for a rest. Finally, a gentle, mostly flat path, `—`, takes us back to the trailhead. Remember, this is a simplified representation, but it captures the essence of the elevation changes.
Panoramic View from Eagle’s Perch
From Eagle’s Perch, the panorama is breathtaking. Imagine a tapestry woven with vibrant greens of pine forests stretching to the horizon, punctuated by the rugged, grey peaks of distant mountains. Below, a valley unfolds like a crumpled green carpet, crisscrossed by a silver ribbon of a river. Hawks circle lazily overhead, their silhouettes stark against the azure sky.
With a little luck, you might even spot a deer gracefully bounding through the undergrowth. The air is crisp and clean, carrying the scent of pine and damp earth. It’s the kind of view that makes you want to sit for hours, just absorbing the beauty.
Trail Junctions and Alternative Routes
Understanding the trail junctions is key to avoiding unexpected detours (or delightful discoveries, depending on your adventurous spirit!). Here’s a breakdown of possible routes:
- Main Trail: Follows the previously described profile, leading directly to the trailhead.
- Whispering Pines Loop: At “Whispering Pines,” a smaller trail branches off, offering a short loop through the grove. This adds about 30 minutes to your hike but provides a peaceful escape.
- Summit Challenge (Advanced): Near Eagle’s Perch, a barely visible path veers sharply upwards. This is NOT for the faint of heart. It leads to a higher summit, adding significant elevation gain and difficulty. Only attempt this if you’re an experienced hiker with appropriate gear.
Safety and Considerations
Hitting the trails is awesome, but let’s be real, Mother Nature isn’t always a cuddly teddy bear. While we’re aiming for a moderate hike, that doesn’t mean we should stroll into the wilderness with our eyes closed and a picnic basket in hand. A little preparation can turn a potentially perilous adventure into a triumphant tale of woodland exploration.Potential Trail Risks and Preventative MeasuresUnexpected weather changes can transform a pleasant hike into a soggy, shivering nightmare.
Imagine starting with sunshine and ending up knee-deep in a sudden downpour, battling freezing temperatures and reduced visibility. To combat this, always check the forecastbefore* you leave and pack accordingly. This includes waterproof outerwear, extra layers for warmth, and sturdy, waterproof hiking boots. Remember, a sudden thunderstorm can also bring lightning – seek shelter immediately if you hear thunder.
A lightweight emergency blanket can also be a lifesaver in unexpected cold snaps.Wildlife Encounters and Safety ProtocolsOur trails might be home to various creatures, some cute and cuddly, others… less so. While most animals will avoid humans, it’s crucial to be aware of your surroundings. A surprising encounter with a deer might startle you, while a bear encounter (though rare) could be much more serious.
Always make noise while hiking, especially in areas with dense vegetation, to avoid surprising animals. Carry bear spray (if appropriate for your region and trail), and know how to use it. Never approach or feed wild animals – maintain a safe distance and observe them from afar.Trail Hazards and NavigationTrails can present various hazards, from uneven terrain and slippery rocks to fallen branches and hidden holes.
Wear appropriate footwear with good ankle support, and use trekking poles for added stability, especially on steep inclines or declines. It’s advisable to carry a map and compass, or a GPS device, even if you’re using a phone app – technology can fail, and knowing how to navigate without it is a crucial skill. Always inform someone of your hiking plans – including your route, estimated return time, and who to contact if you don’t return on time.
Having a backup plan, such as a pre-arranged check-in time with a friend or family member, is also wise. Consider carrying a whistle for signaling in emergencies. Finally, don’t overestimate your abilities. Turn back if conditions become too challenging or if you feel uncomfortable. A safe hike is a successful hike.
Conclusive Thoughts

So, there you have it – your personalized roadmap to the perfect moderate mountain hike near you. Remember, preparation is key: check the weather, inform someone of your plans, and pack accordingly. With a little planning and a whole lot of enthusiasm, you’ll be trading your desk chair for breathtaking panoramic views in no time. Happy hiking, and may your trails be filled with stunning scenery and only the friendliest of wildlife (or at least wildlife that keeps a respectful distance!).
Now go forth and conquer those mountains!